How to Install Lifeproof Vinyl Flooring
Installation is easy!
video by Jason Bent
article by Ben Marshall
Installing Lifeproof Vinyl flooring is a straightforward and simple process that any home DIYer can accomplish with minimal tools and experience with flooring materials. If you have any worries about doing this process yourself, fear not as this was also my first time installing vinyl flooring and I’m confident anyone else can do it too.
Lifeproof vinyl flooring is available at Home Depot and is around $70 per box. Each box covers 20 square feet (7 planks per box) and can be purchased in bulk for big jobs. There are a wide variety of choices in color, grain pattern and finish with Lifeproof vinyl flooring - all follow the same easy installation process.
Why I chose Lifeproof Vinyl for my home
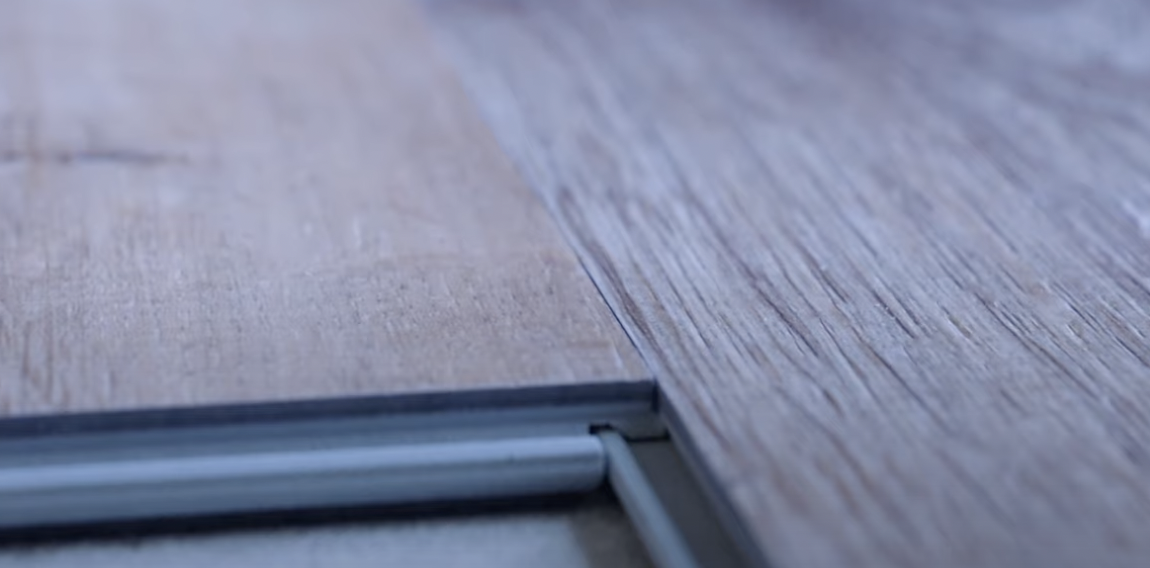
The interlocking technology is the key behind the easy installation.
It’s waterproof, scratch resistant, and has a lifetime residential warranty
Installation and assembly is super simple thanks to the interlocking design
There’s no acclimation period - you can install the same day
It comes with an underlayment layer and can be installed anywhere in your home
After a year and a half of living with life proof vinyl flooring, two dogs, a cat, and a toddler - I can attest that this flooring has held up really well. I live just south of Indianapolis, home to some pretty severe winters and warm summers - there has been virtually no movement in the flooring, which covers my entire first floor. I love it so much that I plan to use it again in the future with our new house. Speaking of new houses, here’s what you’ll need to make your house look brand new with this flooring.
What You Need to Install LifeProof Vinyl Flooring
kneepads
Slidez
hammer
dead blow mallet (rubber)
painters tape
tape measure
box cutter
sharpie
square for making 90° cuts
a scrap or cut-off of the flooring (this serves as an assembly block - you’ll be hitting it with the mallet)
12 inch pry (pull) bar
Preparation
Daddy’s little helper!
Remove any old flooring materials or residue from the entire room. Remove tac strips, base boards, brad nails, and ensure the floor is flat. If there are any bits of concrete above the surface, remove them with a grinder. This is also a great time to seal any foundational cracks if found. Sweep the area thoroughly and only install the flooring on a clean, flat, and dry surface.
Picking an Installation Pattern
LifeProof tiling can be laid out in three different patterns: brick pattern, point to point pattern, and plank stagger pattern (this is what I used). The plank stagger pattern provides the most irregular pattern of the planks, which is more akin to real wood flooring as there are virtually no repeating patterns per box. Brick pattern is just like a row of bricks, where the row above is offset by half, and the next row is in line with the first. Point to point pattern is essentially lining up all the corners of all the planks. Point to point is commonly used in square tiling, and to be honest looks a bit odd with wood plank flooring. However, one can appreciate the versatility of styles available thanks to the interlocking design.
installing lifeproof vinyl flooring
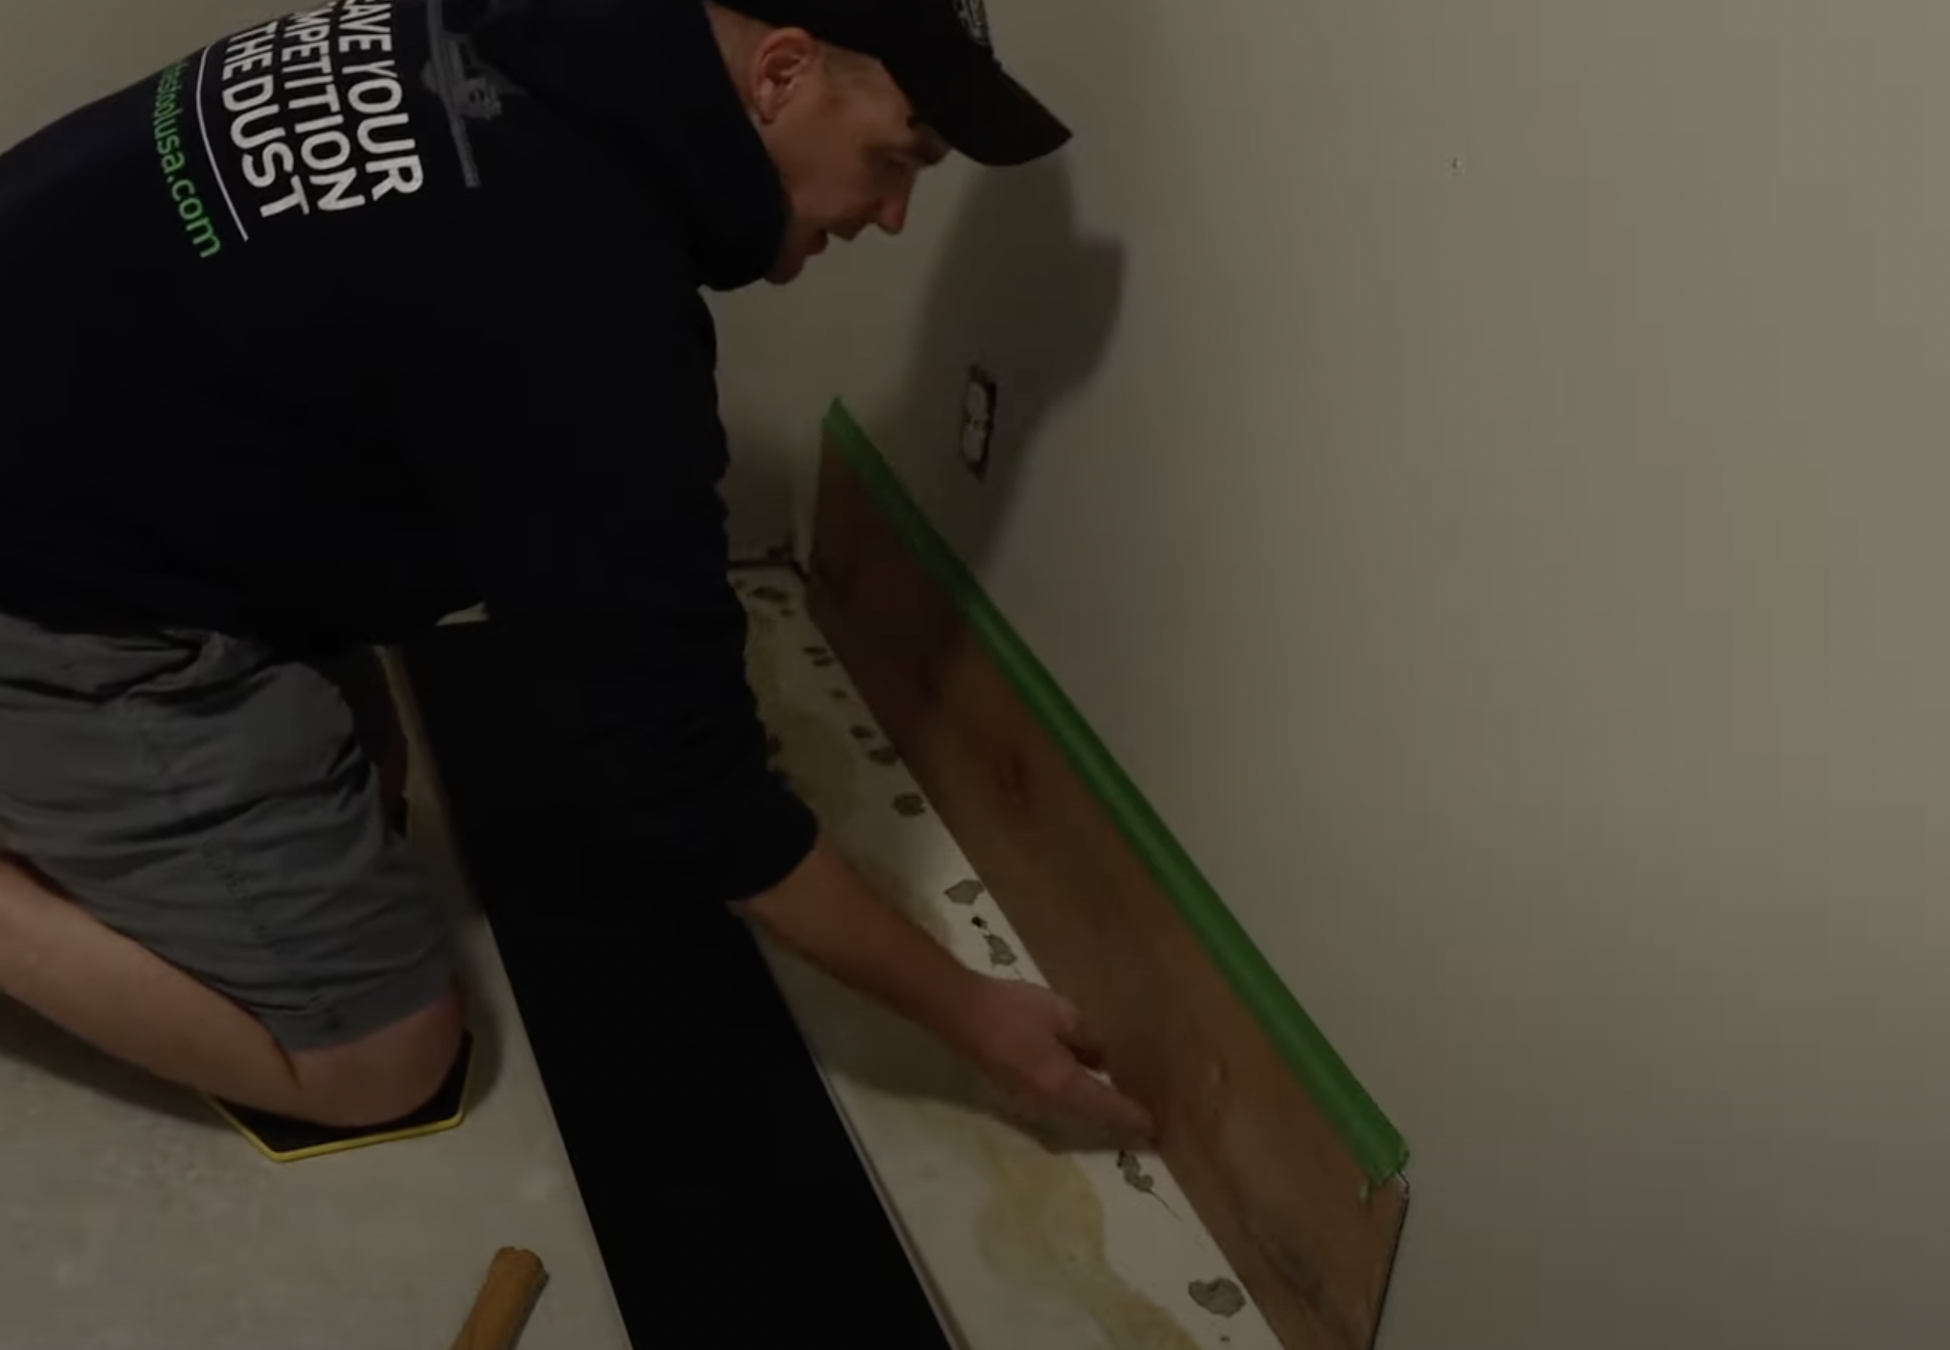
Set your wall spacers
Set 1/4 inch (6mm) spacers along the perimeter of your floor against wall. You can use some planks of flooring with painters tape to hold them in place. These spaces must be present until the entire floor is finished. This space allows for subfloor movement and expansion of the flooring during seasonal months. Without a 1/4 inch spacing along the perimeter, you will experience either buckling or large gaps throughout seasonal movement. These expansion gaps will later be covered by baseboards and trim molding.
Measure the room and cut your first piece (if needed).
Measure the length of the room in inches, and divide that number by the plank length. If that number is less than 8”, you will need to cut the first plank to avoid having an 8” section at the end of the first row. I used some left over off-cuts from a previous room as my starter plank in this article.
Laying the first row.
You can assemble the first two rows first, then push it against the spacers, or assemble everything against the spacers first - your choice.
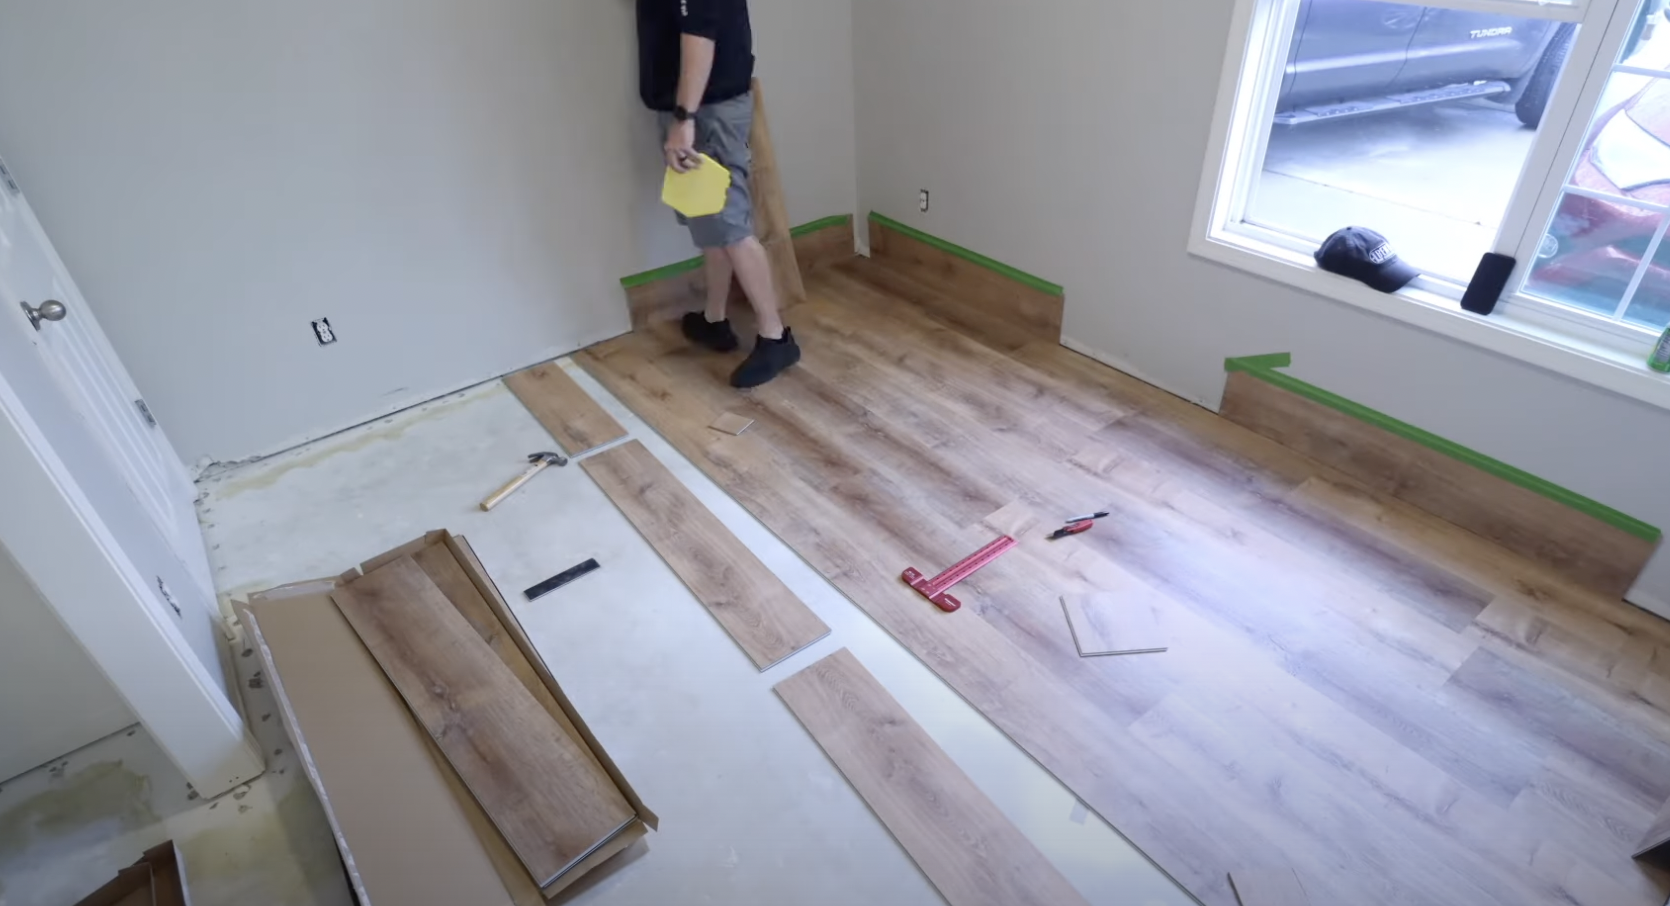
Start the installation in a left-hand corner, lay down the first plank with the tongue facing the wall. You can assemble the planks in the first row either against or about 6” away from the spacers. Interlock the next plank at right end, ensuring the long edges are flush. You can use a positioning block, or a scrap piece of flooring, to tap the edges flush. Take a soft blow mallet, and lightly tap the edge joint until flush across both pieces. Continue this method until the first row reaches the opposite wall. Cut the last piece of the row to fit, leaving a 1/4 inch gap from the wall. If the off-cut piece is longer than 8”, you can use it as the starter plank on the next row. This will achieve a plank stagger pattern.
Install the second row.
Use a square and box cutter to score planks for trimming length. You can also use a miter saw. As long as you can make square cuts your chosen technique.
To achieve a staggered layout, cut the first plank of the second row to any length longer than 8” (2/3 the length is a good aesthetic). Holding the plank at a 45°, slide it under and along the edge of the first row and align it to the end of the first plank. Make sure there are no gaps between the planks. Use the soft blow mallet and a scrap piece (or positioning block) to tap the planks flush together. Grab the next plank and slide it into place, use the mallet to attach the end joints and edge joints flush. You should visually check for gaps and feel for uneven planks along the joint lines after each plank. Complete the second row as prescribed above.
Inserting the first plank on the second row.
Slide the planks in at a 45° to engage the locking mechanism, tap along the long edge to close the gap, then tap in the edge joint flush.
Complete the remaining rows.
Installing the rest is a breeze after the first two rows.
With the first and second row assembled, you can now push the flooring up against the 1/4” spacers. Repeat the assembly process for the remaining rows, ensuring joints are square, flush, and gap free. Pay special attention to the first and last pieces in each row, ensure that there is never a section that is smaller than 8”.
Installing the last row.
Leveraging the pull bar against the wall and along the edge of the last plank pulls the planks together.
Trim the first piece to maintain a staggered pattern (if being used). Lay it on top of the previous row, aligning the edges. Take another plank and place it on top, pushing the edge of this plank against the wall spacers. This will create a reveal on the plank below that needs to be trimmed (scribing). Use a marker and trace the edge of the top plank onto the middle plank. Use a jig saw or band saw to trim along the line.
Install the now cut plank, with the cut edge against the wall. Use a pry bar on the outer edge to pull the interlock together. Use the soft blow mallet to adjust and close any gaps. Repeat this process until all planks are installed.
Cutting door trim
Use a plank for the height of the cut on a door jam or entry way trim.
You will likely have to trim the vertical pieces of an entry way or door frame to slide the plank under neath for a clean install. Simply take a scrap piece of flooring, and place it against the frame. Next, take a reversing backsaw and use the plank as a height guide to cut the trim to the appropriate height.
Cutting around door jams, pipes, floor sockets, and vents
There are multiple ways to accomplish this, you can make a template using paper. Scribe the cut out on paper, cut it out, then transfer the lines onto the plank. If want to see how I fit planks for a closet entry, you can watch my video here.
Conclusion
Overall, this installation process is super easy and is a something I feel anyone can do in their own home. This can be done with minimal tools and can be finished in a day.
If you have any questions about the steps covered here, be sure to drop it in the comment section!


